



 By Shari Cooke
•
28 Oct 2026
•
7 min read
•
Design & Print Production
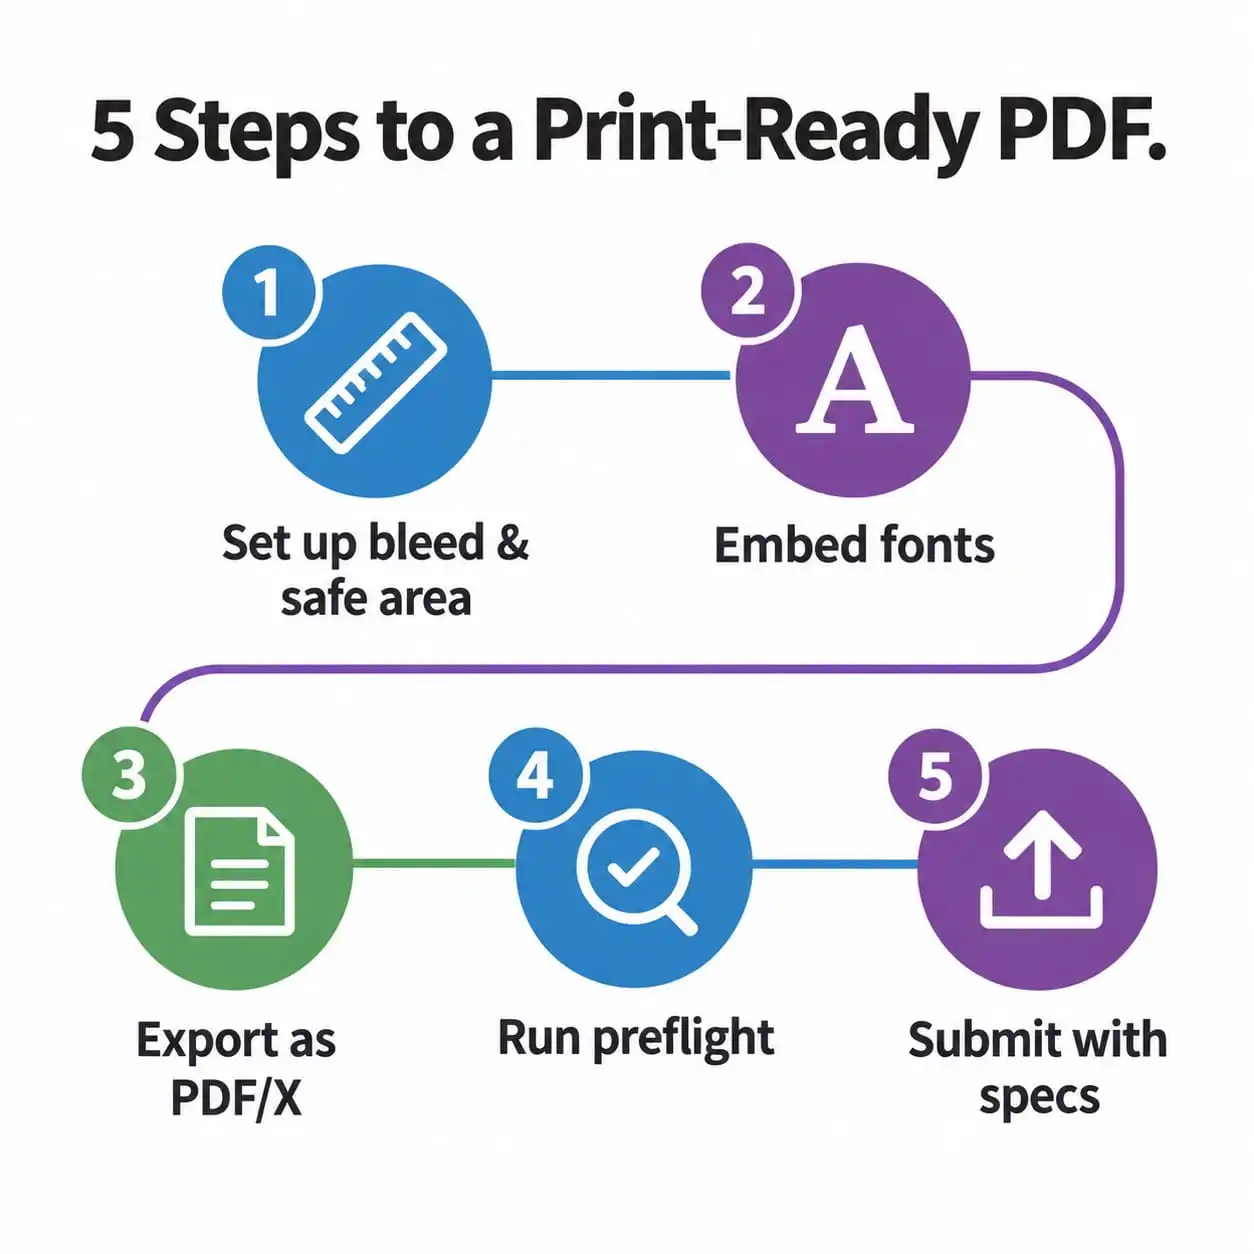
To create a print-ready PDF, build your file at final trim size with 0.125 inch bleed, use CMYK color and 300 DPI images, and embed every font. Export with a PDF/X preset, then run a preflight check before you send it to print. Below, we walk through each step so your brochures, manuals, and business cards print the way you designed them.
What makes a PDF print-ready?
A print-ready PDF contains everything a press needs to reproduce your design accurately, with no guesswork on the printer’s end. That means:
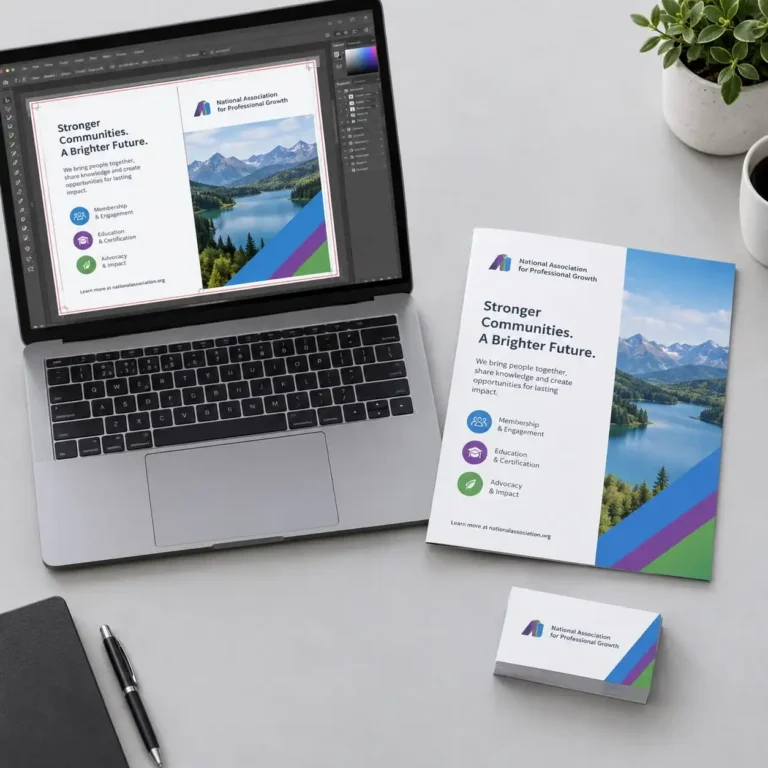
- CMYK color. Presses print with cyan, magenta, yellow, and black (CMYK) ink. Screens display red, green, and blue (RGB) light, so RGB files can shift in color when printed.
- High-resolution images. Images should be 300 DPI (dots per inch) at final print size.
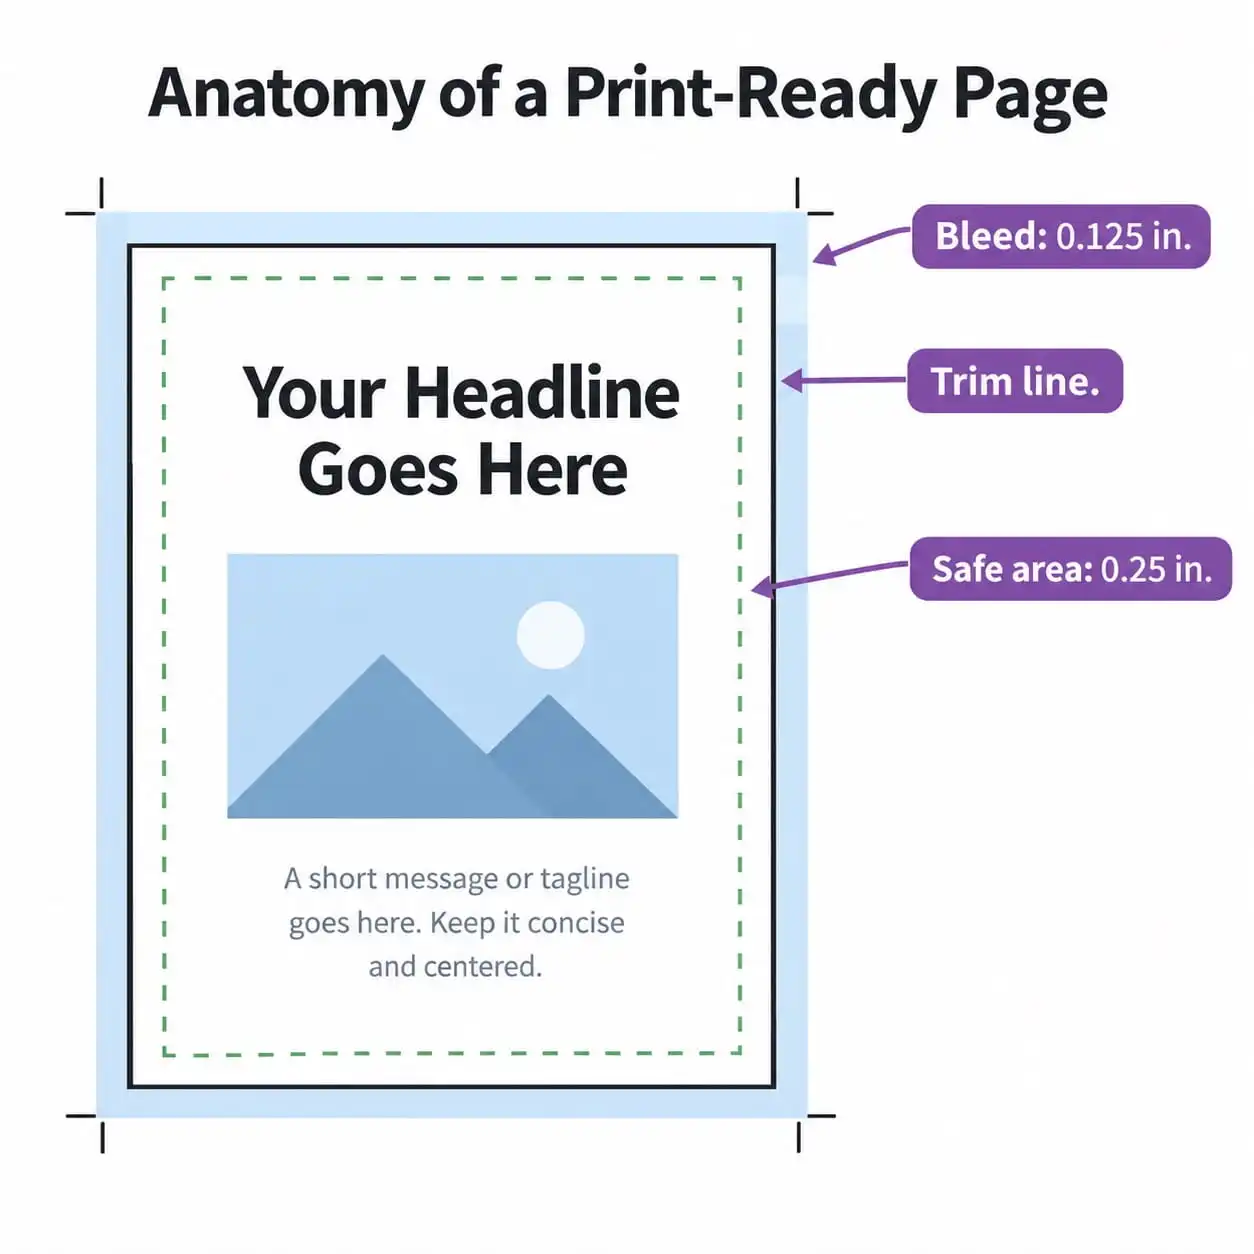
- Bleed and trim. Backgrounds that run to the edge need extra artwork past the trim line.
- Embedded fonts. Every typeface travels inside the file.
Digital PDFs skip most of these, which is why a file that looks great on screen can come back with white edges, blurry photos, or substituted fonts. Transparency and overprint settings can also behave unpredictably on press. Setting standards early prevents these problems, cuts proofing rounds, and keeps color consistent from one run to the next.
How do you set up your file before exporting?
Start with a document that matches your final trim size. Then work through this checklist:
- Add bleed. Extend backgrounds and images 0.125 inch past the trim on every side. Adobe has a quick walkthrough on how to set up print bleed in InDesign.
- Set a safe area. Keep text, logos, and other critical content at least 0.25 inch inside the trim so nothing gets cut.
- Convert color. Switch all artwork to CMYK. If your design uses Pantone spot colors, confirm with your print provider whether to keep or convert them.
- Check images. Place images at 300 DPI at the size they’ll print. Enlarging a small image won’t add detail, so swap low-res files for original source files.
- Clean up. Delete unused layers, objects, and swatches, and flatten complex transparency if your export preset requires it.
How do you embed fonts in a PDF?
Embedding packs the font data into your PDF so the printer sees the exact typeface you chose. Here’s how to handle it in common tools:
- Adobe InDesign or Illustrator: Export with a PDF/X preset or the High Quality Print preset. Both embed fonts automatically.
- Microsoft Word (Windows): Go to File > Save As, choose PDF, click Options, and check the PDF/A box (labeled “ISO 19005-1 compliant (PDF/A)” in many versions). This forces full font embedding. Microsoft explains each setting in its guide to saving or converting Office files to PDF.
- To verify: Open the PDF in Adobe Acrobat and go to File > Properties > Fonts. Each font should show “Embedded” or “Embedded Subset.”
Some fonts carry licensing restrictions that block embedding. If a font won’t embed, convert the text to outlines in your design program before exporting. Outlined text can’t be edited afterward, so save an editable copy first.
What PDF export settings should you use for print?
Choose a PDF/X preset whenever your software offers one. PDF/X is a family of standards built specifically for sending files to print.
- PDF/X-1a: The most compatible option. It requires CMYK or spot color and flattens all transparency.
- PDF/X-4: Built for modern workflows. It keeps live transparency and supports ICC (International Color Consortium) color profiles.
For image compression, downsample anything above 450 DPI to 300 DPI using high-quality JPEG or ZIP compression. Leave vector art and text uncompressed. Make sure bleed and crop marks are turned on in your export settings.
How do you preflight a PDF before sending it to print?
Preflighting is a final check that catches problems before they reach press. Adobe Acrobat Pro has a built-in tool, and you can learn how it works in Adobe’s guide to analyzing documents with the Preflight tool. Most design programs offer their own version too. Before you send your file:
- Soft-proof on screen to spot color shifts from CMYK conversion.
- Use rich black (a mix of CMYK inks) for large dark areas and 100% black (K) for small text.
- Confirm every font is embedded or outlined.
- Confirm every image is 300 DPI at final size.
- Check that trim size, bleed, and crop marks line up.
- Run preflight to flag RGB objects, missing links, overprint issues, and total ink coverage limits.
How do you choose the right setup for your print project?
The right file setup depends on what you’re printing and how it will be finished. Match your PDF to the product you’re ordering from our full range of business print products:
- Bound documents like manuals, training workbooks, and booklets. Leave extra room on the binding edge so text doesn’t disappear into the spine or binding holes. For covers that print all the way to the edge, set up your files for full bleed and use our Print-to-Edge option. Working in Word? Here’s how to set up Print-to-Edge documents in Microsoft Word.
- Marketing collateral like brochures, flyers, postcards, and business cards. Bleed and safe area matter most here, since edge-to-edge color and tight trims are common. Folded brochures also need panels sized for each fold.
- Posters, banners, and large format prints. Resolution needs can differ at large sizes, so confirm specs before you resize oversized image files.
- Binders. Decide whether your first page should become the cover insert or you’d prefer a blank cover, and design that page with the cover in mind.
What should you send with your print-ready PDF?
Include clear production specs: quantity, final size, paper stock, folding or binding, and finishing like lamination or coatings. If your printer asks for packaged files, send the native document, fonts, and linked images too. Clear specs keep your team, your stakeholders, and your printer aligned.
Print-Ready PDF FAQs
What DPI should a print-ready PDF be?
Use 300 DPI at final print size for photos and other raster images. Vector art and live text print sharply at any size.
How much bleed does a print-ready PDF need?
0.125 inch on every side is standard. Check with your print provider for specialty products.
Can I make a print-ready PDF from Microsoft Word?
Yes. Set a custom page size to include bleed, save as PDF with PDF/A compliance turned on, and verify your fonts in Acrobat. Word exports in RGB, so for color-critical pieces, a design program like Adobe InDesign or Affinity Publisher gives you more control.
What’s the difference between PDF/X-1a and PDF/X-4?
PDF/X-1a flattens transparency for maximum compatibility. PDF/X-4 keeps live transparency and color profiles for modern workflows. If you’re unsure, ask your printer which one they prefer.
Should I embed or outline fonts?
Embed by default, since it keeps text editable. Outline fonts only when licensing prevents embedding.
Get your print-ready PDF into production
Once your file is ready, ordering is the easy part. Place an order by 10pm and get it delivered as early as 8am the next day, with global print hubs that reach your audience wherever they are. Start your next print order with us and get your time back.
Things to remember
- Build at final trim size with 0.125 inch bleed and a 0.25 inch safe area.
- Use CMYK color and 300 DPI images.
- Embed every font, or outline any that won’t embed.
- Export with PDF/X-1a or PDF/X-4.
- Preflight every file before you send it.
What you should read next

Shari Cooke
Director of Customer Service
Shari Cooke is Director of Customer Service for Mimeo Business US, with more than 12 years at Mimeo and a background in graphic design that gives her a unique eye for both the creative and operational sides of print. Based in Memphis, she leads the team that keeps customer orders running smoothly from file to delivery. Her posts help businesses avoid common print pitfalls and get professional results, drawing on years of solving real customer challenges firsthand.

 Mimeo Print
 Mimeo Digital for Participants
 Mimeo Marketplace
 PrintX
 Mimeo Photos